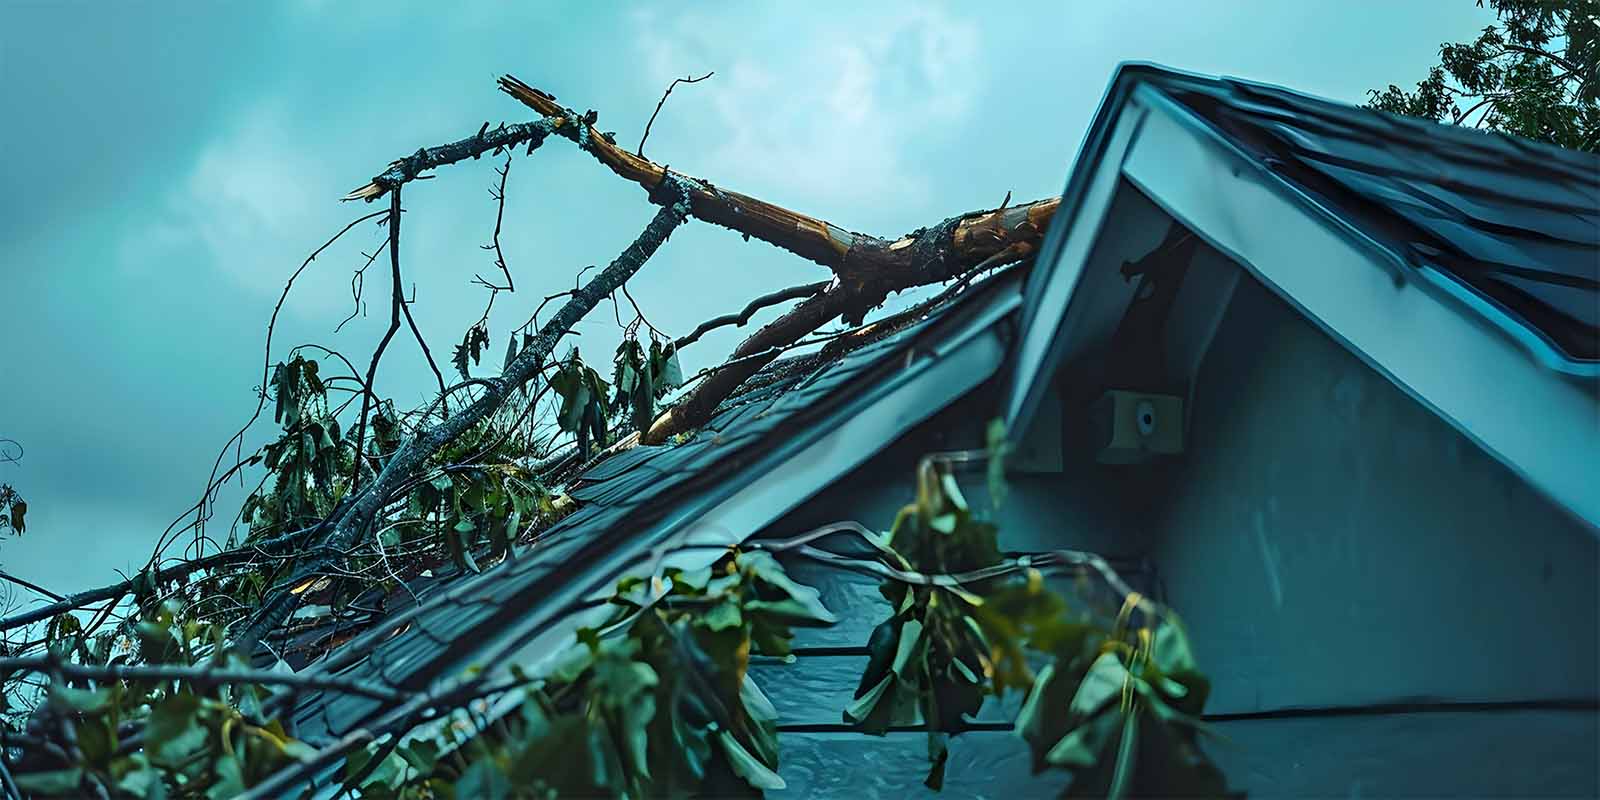
Houston’s storm season can leave roofs vulnerable to significant damage. Knowing how to properly inspect and repair your roof after a storm is crucial to maintaining your home’s integrity. This guide will provide you with essential tips and steps for post-storm roof inspections and repairs, ensuring your home remains safe and secure.
For more on storm damage roof repairs, check out our previous post: Storm Choice Roofing’s Expertise in Handling Houston’s Severe Weather Roof Repairs.
The Importance of Post-Storm Roof Inspections
After a storm, it’s vital to inspect your roof to identify any damage that may have occurred. Undetected issues can lead to severe problems, including leaks, structural damage, and mold growth. Regular post-storm inspections help in:
- Early Detection: Finding and fixing problems before they worsen.
- Insurance Claims: Providing documentation for insurance purposes.
- Safety: Ensuring the roof’s structural integrity and the safety of your home.
Initial Inspection Steps
Before climbing onto your roof, ensure your safety by following these steps:
- Wait for Safe Conditions: Only inspect your roof once the storm has completely passed and it’s safe to do so.
- Visual Inspection from the Ground: Look for visible damage such as missing shingles, sagging areas, and debris accumulation.
- Photograph Damage: Document any visible damage with photos for insurance and repair records.
Detailed Roof Inspection Checklist
A thorough inspection involves checking several key areas. Use this checklist to guide your inspection:
Exterior Inspection
- Shingles: Look for missing, cracked, or curling shingles.
- Flashing: Check around chimneys, vents, and skylights for loose or damaged flashing.
- Gutters and Downspouts: Ensure gutters are clear of debris and securely attached.
- Roof Vents: Inspect for damage and ensure they are properly sealed.
Interior Inspection
- Attic: Look for signs of leaks, water stains, and mold.
- Ceilings: Check for discoloration, sagging, or water spots on interior ceilings.
Immediate Actions Post-Inspection
If you identify damage during your inspection, take these immediate steps to prevent further issues:
- Temporary Repairs: Use tarps or roofing cement to cover any leaks temporarily.
- Remove Debris: Safely remove any debris from your roof and gutters.
- Secure Loose Materials: Nail down loose shingles or flashing to prevent additional damage.
When to Call a Professional
While minor repairs can be handled by homeowners, significant damage requires professional attention:
- Extensive Shingle Damage: Large areas of missing or damaged shingles.
- Leaks and Water Damage: Persistent leaks or visible water damage inside your home.
- Structural Issues: Sagging rooflines, broken rafters, or other major structural problems.
Working with Insurance
Navigating insurance claims for storm damage can be complex. Follow these steps to streamline the process:
- Document Everything: Take detailed photos and keep records of all damage and repairs.
- Understand Your Policy: Know what your homeowner’s insurance covers and the steps to file a claim.
- Contact Your Insurance Company: Report the damage as soon as possible and provide all necessary documentation.
Preventive Measures for Future Storms
To minimize future storm damage, consider these preventive measures:
- Regular Inspections: Schedule professional roof inspections at least twice a year and after major storms.
- Roof Maintenance: Keep your roof in good condition with regular maintenance.
- Tree Trimming: Trim branches that could fall on your roof during a storm.
- Upgrade Materials: Consider installing storm-resistant shingles and reinforced roofing materials.
Choosing the Right Roofing Contractor
Selecting a reliable roofing contractor is crucial for effective repairs:
- Check Credentials: Ensure the contractor is licensed, insured, and bonded.
- Read Reviews: Look for reviews and testimonials from previous customers.
- Get Multiple Quotes: Obtain quotes from several contractors to compare pricing and services.
- Ask for References: Request references and follow up to verify the contractor’s work quality.
Storm Damage Roof Repair FAQs: Inspection & Repair Answers
Q: How soon should I inspect my roof after a storm?
A: Inspect your roof as soon as it is safe to do so. Prompt assessment can help prevent further damage.
Q: What if I can’t see any damage from the ground?
A:Even if damage isn’t visible from the ground, inspect your attic and ceilings for signs of leaks. A professional inspection can also uncover hidden damage.
Q: Can I make temporary repairs myself?
A: Yes, temporary repairs like using tarps or roofing cement can help prevent further damage until professional repairs can be made.
Q: How do I choose a reliable roofing contractor?
A: Look for licensed, insured contractors with good reviews and references. Get multiple quotes and check their credentials.
Q: What should I do if my insurance claim is denied?
A:If your claim is denied, ask for a detailed explanation and consider hiring a public adjuster or appealing the decision.
Stay Proactive and Prepared
Houston’s storm season can be tough on your roof, but with the right approach, you can minimize damage and keep your home safe. Regular inspections, timely repairs, and preventive measures are key to maintaining your roof’s integrity. For more tips on handling storm damage, read our previous post: Storm Choice Roofing’s Expertise in Handling Houston’s Severe Weather Roof Repairs.
Interesting External Links
- Texas Department of Insurance – Roof Claims
- Weather.com – Post-Storm Recovery Tips
- State Farm – Roof Damage Checklist
By staying informed and proactive, you can ensure your roof remains resilient against Houston’s severe weather, protecting your home and family.


